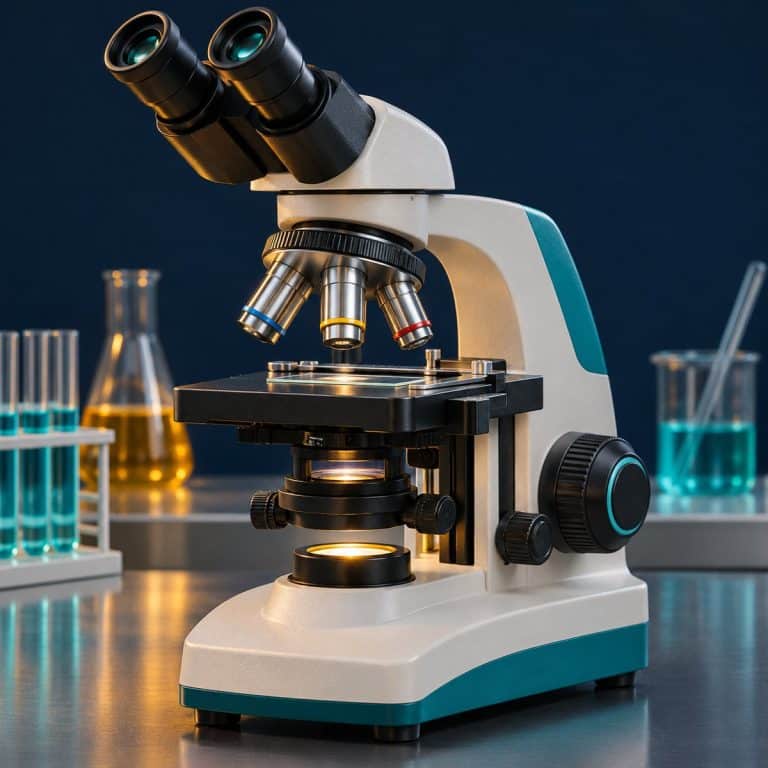
How to use a compound microscope comes down to one routine you can repeat blind. Start on the 4x objective with the stage lowered and the light dimmed. Center the slide, set the condenser high and the diaphragm part-closed, and coarse-focus at 4x only. Step up to 10x and 40x with the fine knob alone, and re-center and re-adjust the diaphragm each time. Add oil only for the 100x, and finish back on 4x with the light off. This guide walks through all 12 steps and names the mistake that trips beginners at each one. It hands off to our deeper guides on the parts of a compound microscope and our step-by-step guide to focusing a microscope.
The routine assumes a standard brightfield instrument with 10x eyepieces and 4x, 10x, 40x and 100x oil objectives. It also assumes a condenser with an iris diaphragm and an LED or halogen base light. For the optics behind it, see how a compound light microscope works.
All 12 Steps at a Glance
Every session follows the same twelve moves, in this order. Print this list and tape it next to the scope until you stop needing it. See Nikon’s illumination tutorial for additional context.
- Carry the microscope with two hands (one on the arm, one under the base) and set it on a flat, stable bench.
- Start from a safe state: rotate the 4x objective into place, lower the stage, turn the dimmer to minimum, then switch on the light.
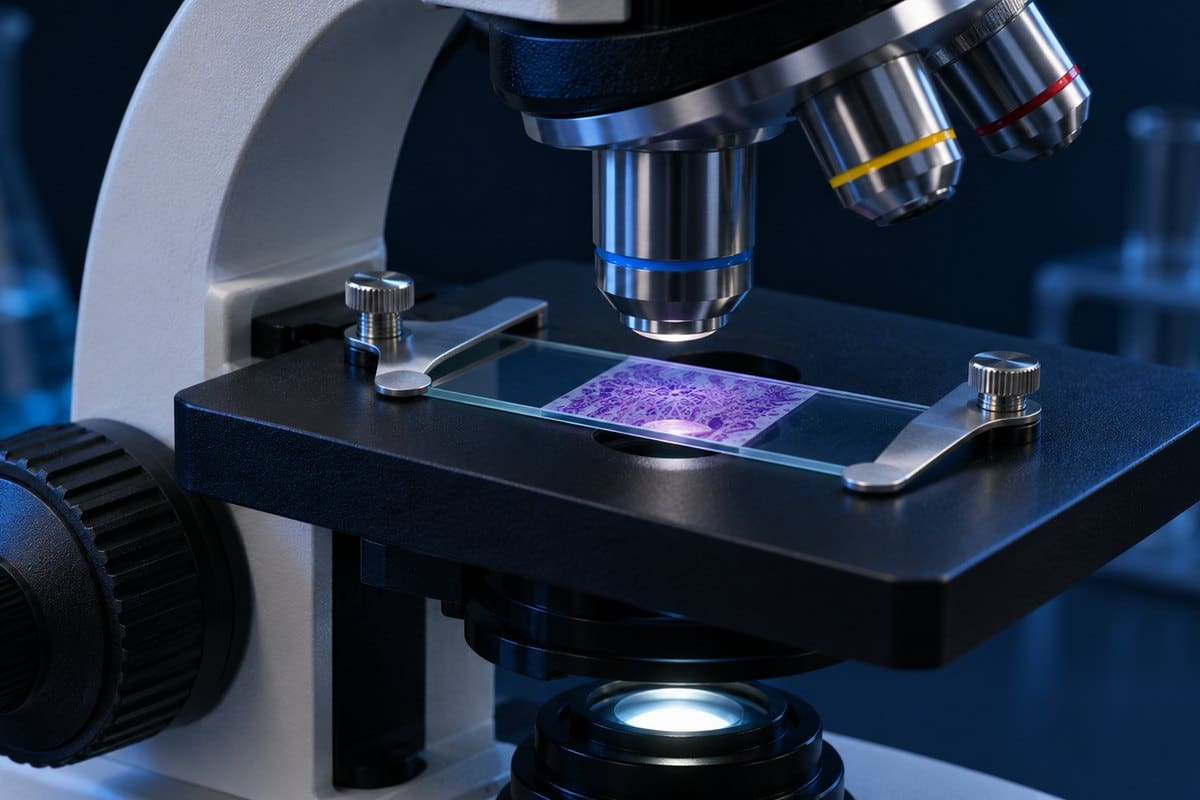
- Load the slide cover slip up, and center the specimen over the light opening.
- Fit the head to your eyes: set the interpupillary distance, then the diopter ring.
- Set the condenser and diaphragm: condenser near the top, iris diaphragm part-closed.
- Set brightness with the light-intensity dial, never with the diaphragm.
- Focus at 4x: bring the stage close while watching from the side, then look in and focus away from the slide with the coarse knob.
- Scan and center the part of the specimen you want to see, using the stage knobs.
- Step up to 10x: center, click the objective in, fine-focus, open the diaphragm a notch, raise the light.
- Step up to 40x: same four moves, fine knob only.
- Add immersion oil for 100x: one drop, rotate the 100x into it, fine focus only.
- Shut down: return to 4x, lower the stage, remove the slide, clean the oil, dimmer to minimum, power off, cover.
A visual walkthrough of the same setup-to-storage routine, from instructor Tami Guy at Science Prof Online.
The power-change ritual. Every time you switch objectives, do the same four moves in the same order: center the target, rotate until the objective clicks, fine-focus, then open the diaphragm a notch and bump the light. Say it out loud for the first week. It sounds silly and it works, because skipping any one of the four is the cause of most “my slide vanished” complaints.
Before You Look: Set Up the Microscope (Steps 1–4)
Step 1: Carry It and Place It
A compound microscope should always travel with two hands: one gripping the arm, the other supporting the base. Carrying it by the stage or the head is how scopes get dropped. A dangling cord is the classic way a whole class loses a microscope off the edge of a bench. Set the scope on a flat, stable surface with the cord routed behind it, not across your elbow room. See Nikon’s working-distance guide for additional context.
Two practical safety notes before you power anything up. Halogen lamp housings get hot enough to burn skin, so keep your hands off them. And never aim a microscope’s optics at the sun or a laser, even briefly; the eyepiece concentrates light onto your retina.

Step 2: Start From a Safe State
The safe starting state has four parts: the 4x objective clicked in, the stage lowered, the dimmer at minimum, and only then the power switch. The 4x is the right place to begin because it has the widest field of view and the longest working distance, which means you can find your specimen without any risk of the lens touching the slide. A scope that was left on 40x or 100x by the last user is the most common trap here, so look at the nosepiece before you do anything else.
If any control name is unfamiliar, our guide to compound microscope parts labels them all, and the revolving nosepiece explains how objectives seat.
With no slide on the stage and the light on, you should see a bright white disc with a crisp black rim, which is the field of view. If the disc is lopsided or a dark crescent cuts into it, the objective is not fully clicked into place. Rotate the nosepiece slowly until you feel it seat.

Step 3: Load the Slide Cover Slip Up
A microscope slide must sit on the stage with the cover slip facing up. Most biological objectives are designed for a 0.17 mm (#1.5) cover slip sitting directly above the specimen, so a slide placed upside down adds about a millimeter of glass between the lens and the sample. The result is a slide that focuses acceptably at 4x and 10x, then never sharpens at 40x, or worse, the 40x runs into the glass before it ever finds focus.
Slide the slide under the spring-loaded holder of a mechanical stage, or secure it with the two stage clips on a simple stage. Then, by eye, position the specimen directly over the light opening in the center of the stage.
If you are making your own slides, how to prepare microscope slides and make a wet mount slide cover the technique from drop to cover slip.
Step 4: Fit the Head to Your Eyes
A binocular head needs two adjustments before the image is comfortable. First, slide the two eyepiece tubes closer or farther apart until the two circles you see merge into a single circle; that is your interpupillary distance. Second, set the diopter: look through the fixed eyepiece with the matching eye only, focus the image sharply, then turn the diopter ring on the adjustable eyepiece until the same image is sharp for your other eye.
On a monocular scope, keep both eyes open and relax the one you are not using. Squinting or closing one eye produces eye strain and a headache within ten minutes.
Set the Light: Condenser, Diaphragm, Brightness (Steps 5–6)
Step 5: Condenser High, Diaphragm Part-Closed
The condenser focuses light from the illuminator onto the specimen, and for routine brightfield work you should rack it near the top, about 1 to 2 millimeters below the slide. Lowering it is a crude contrast trick that costs you resolution, so treat it as a last resort rather than a default. For a deeper look at the optics, see what the microscope condenser does.
The iris diaphragm sits in the condenser and controls the cone of light reaching the specimen. Closing it increases contrast and depth of field but lowers resolution and adds diffraction halos around edges. Open it too wide and a transparent specimen washes out into glare; close it too far and the image goes grainy and dark at the edges. Start part-closed, then stop closing the moment the image gains contrast. How the iris diaphragm controls contrast goes into the settings in more depth.
When you are ready for full light-path alignment, set up Köhler illumination, and read Nikon’s MicroscopyU tutorials for the theory.
Step 6: Brightness Comes From the Dimmer
The light-intensity dial controls brightness; the diaphragm controls contrast and resolution. Treating the diaphragm as a dimmer is one of the most common beginner misconceptions, and the symptom is an image that darkens but also turns grainy and haloed. If the image is too bright, turn the dial down. If the image is flat, close the diaphragm a little. Two controls, two jobs.
Always start a session with the dimmer at minimum and raise it slowly. On a halogen base, turning the dimmer down before switching off also extends bulb life. LED bases run cool and last for years, but very cheap LED dimmers can flicker or tint the image at the lowest settings; raise the dial slightly if that happens.
Focus at 4x, Then Scan (Steps 7–8)
Step 7: Focus at 4x With the Coarse Knob
The coarse focus knob is for 4x and nowhere else. Here is the short version of the method; our step-by-step guide to focusing a microscope covers it in full.
- Watch the objective from the side, not through the eyepiece, while you raise the stage until the slide is close to the lens.
- Now look through the eyepieces and turn the coarse knob so the stage moves away from the objective.
- Stop when the image first snaps into view, then tidy it up with the fine knob.
The cardinal beginner error is focusing toward the slide while looking through the eyepiece. The 4x forgives it, but the habit is what cracks slides at 40x.
One surprise to expect: an unstained, transparent specimen such as cheek cells or pond water can look like an empty slide at 4x. That happens with the light high and the diaphragm wide open. You see a pale, washed-out glare and maybe a few air bubbles, which are perfect circles with thick black rims and bright centers. Beginners mistake bubbles for cells every time. Close the diaphragm and the actual cells appear as gray outlines.
Step 8: Scan and Center the Target
Use the X and Y stage knobs to scan the slide at 4x until you find the part you want to study, then bring it to the exact center of the view. The image is inverted and reversed, so push the slide to the left and the specimen moves to the right. Moving the slide toward you moves the image away. It feels wrong for about five minutes, then becomes automatic.
Centering matters more than it seems. Each step up in objective power cuts the field of view by roughly 2.5 to 4 times, so a target that is a little off-center at 4x ends up completely out of the field at 40x. How field of view shrinks at higher power explains the arithmetic.
Step Up to 10x and 40x (Steps 9–10)
Step 9: Switch to 10x
With the target centered, rotate the nosepiece until the 10x objective clicks into place. Because the objectives on one nosepiece are parfocal (built to stay in focus as you rotate between them), the image should stay roughly in focus after the switch, and only a touch of the fine knob is needed to sharpen it. Parcentered objectives (aligned to share one center point) also keep a centered target near the middle. Inexpensive microscopes may be only approximately parfocal, so a small adjustment is normal.
At 10x, individual cells resolve. Onion epidermis, for example, looks like a brick wall of long rectangles. Open the diaphragm a notch and raise the light slightly, since a higher objective gathers less light per unit of field. If you want to practice on a specimen with easy structure, onion cells under a microscope is a good first slide.
Step 10: Switch to 40x, Fine Knob Only
Run the same four moves: center, click, fine-focus, open the diaphragm a notch and raise the light. The difference at 40x is that the working distance has shrunk to well under a millimeter, so the coarse knob is now off limits. The lens nearly kisses the cover slip. Fine focus alone is enough, and it rarely needs more than half a turn in either direction. If you find yourself cranking the knob, you have lost the plane of focus; drop back to 10x, refocus, and step up again.
At 40x, depth of field is only a few microns, so turning the fine knob sharpens one layer of the specimen while blurring the layers above and below it, like flipping the pages of a thin book. That layering is normal and useful: it lets you scan through a thick specimen one slice at a time. Nuclei and other internal detail begin to appear, and human cheek cells under a microscope are a good test, but they need low light and a closed diaphragm to show up.
What Changes With Each Objective
Total magnification equals the eyepiece magnification multiplied by the objective magnification, and with a standard 10x eyepiece the four objectives give 40x, 100x, 400x and 1000x. The table below shows typical values for standard achromat objectives on a student scope; exact numbers vary by brand, so treat them as typical rather than exact. See how to calculate total magnification if your eyepieces are not 10x.
| Objective (total mag) | Typical NA | Working distance | Field of view | Focus knob and diaphragm |
|---|---|---|---|---|
| 4x (40x) | 0.10 | ~17–30 mm | ~4.5 mm | Coarse, then fine; diaphragm mostly closed |
| 10x (100x) | 0.25 | ~5–8 mm | ~1.8 mm | Fine (tiny coarse touches only); open a notch |
| 40x (400x) | 0.65 | ~0.5–0.7 mm | ~0.45 mm | Fine only; open another notch |
| 100x oil (1000x) | 1.25 | ~0.13–0.2 mm | ~0.18 mm | Fine only; open further, stop before glare |
Field of view equals the eyepiece field number (the second number engraved on the eyepiece, as in 10x/18) divided by the objective magnification. The values above assume a field number of 18, common on student scopes; a field number of 20 gives roughly 5 mm, 2 mm, 0.5 mm and 0.2 mm. The working distances in the third column explain why the order of steps exists: the closer the lens sits to the slide, the less room for error. For a deeper comparison, see how the 4x, 10x, 40x and 100x objective lenses differ. For the theory behind the NA column, read what numerical aperture means or the numerical aperture primer at Molecular Expressions.
Magnification is not the same thing as detail. The resolution limit of a light microscope is about 0.2 micrometers, set by the wavelength of light and the objective’s numerical aperture. Useful magnification tops out at roughly 500 to 1000 times the NA. A 100x objective with an NA of 1.25 is useful to around 1,250x; the 1600x and 2000x claims on toy microscopes are empty magnification, meaning the image gets bigger but no more detailed. Magnification vs resolution unpacks the difference.
Use Oil Immersion at 100x (Step 11)
The 100x objective is designed to work with a drop of immersion oil between the lens and the cover slip. Immersion oil has a refractive index of about 1.515, closely matching glass at about 1.52, so it removes the air gap that would otherwise bend light away from the lens. That is what allows the objective to reach its full numerical aperture of 1.25. Without oil, a 100x image is dim, foggy, and soft.
Only use oil on objectives marked “Oil,” “Oel” or “HI,” which is usually just the 100x. Oil on a dry objective smears the image and can seep inside the lens. Most student kits ship a small bottle of immersion oil that works for routine brightfield.
The Oil Procedure
- Focus sharply at 40x, and center the area you want to examine.
- Rotate the nosepiece halfway, so that no objective sits over the slide.
- Place one small drop of oil on the cover slip, over the lit spot. A big drop runs off the slide onto the stage.
- Rotate the 100x objective into the drop. It clicks into place and the lens dips into the oil. From the side you can see the oil form a small bridge between lens and cover slip.
- Look in and use the fine knob only. The field often flashes bright and fills with light the moment the oil makes contact.
If the image looks grainy and low-contrast, there is probably a bubble in the oil. Rotate the 100x out, add a fresh drop, and rotate back in.
The oil rule that matters most: never swing the 40x back through the oil. The 40x is a dry objective and often not sealed. If you need a lower power afterwards, rotate the long way around the turret so the 100x goes to 10x or 4x without the 40x crossing the drop. Or clean the slide first. Greasy, hazy 40x images for the rest of the class are the usual result of breaking this rule.
Clean the 100x tip with lens paper right after use, dampened lightly with lens cleaner if needed, because dried oil gums up and attracts dust. Wipe the oil from the slide too. Keep oil off skin and eyes, and wash your hands afterward.
Shut Down and Store It (Step 12)
The shutdown routine protects the next user as much as the microscope. Do it in this order every time.
- Rotate to the 4x objective, the lowest power, so nothing is near the stage.
- Lower the stage fully, so the next person who swings the 40x in cannot crash it into a slide.
- Remove the slide, then clean oil from the 100x and the slide, and wipe any spills from the stage.
- Turn the dimmer to minimum, then switch off. Let a halogen bulb cool before covering the scope.
- Wrap the cord loosely, not tightly around the arm, put on the dust cover, and carry or shelve it with two hands.
Beginner Mistakes at Every Step (and the Fix)
Nearly every beginner problem traces back to one of ten habits.
| Step | Mistake and what you notice | Fix |
|---|---|---|
| 2, 9 | Starting at 40x to save time. You find nothing but blur. | Always find the specimen at 4x, center it, then step up. |
| 10, 11 | Using the coarse knob at 40x or 100x. The objective drives into the slide, cracking it or scratching the front lens. | Coarse knob at 4x only. Above that, fine knob only. |
| 7 | Focusing toward the slide while looking through the eyepiece. The lens hits the slide. | Watch from the side as you raise the stage, then focus away while looking in. |
| 8 | Not centering before switching. “It disappeared at 40x.” | Put the target dead center at each power before rotating the nosepiece. |
| 3 | Slide upside down. 4x and 10x focus, 40x never sharpens or hits the glass. | Flip it so the cover slip faces up. |
| 5 | Light cranked up and diaphragm wide open on unstained cells. “There is nothing on my slide.” | Dim the light, then close the diaphragm until outlines appear. |
| 6 | Using the diaphragm as a dimmer. The image darkens, turns grainy and haloed. | Brightness with the dial, contrast with the diaphragm. |
| 11 | Swinging the 40x through the oil. Greasy, hazy image afterwards. | Rotate the other way around the turret and clean with lens paper right away. |
| 12 | Wiping lenses with a tissue, shirt or paper towel. Micro-scratches and lint. | Lens paper only, and blow off loose dust first. |
| 4 | Squinting or closing one eye on a monocular scope. Eye strain, headache. | Keep both eyes open and relax the unused one. |
Troubleshooting: “I Can’t See Anything”
When the view looks wrong, work through the symptom list before blaming the microscope.
- All white glare. The light is too high or the diaphragm too open. Dim the lamp and close the diaphragm until the specimen outlines appear.
- All black or very dark. The dimmer is at minimum, the power is off, or the diaphragm is closed too far. Also check that the objective is clicked in.
- A dark half-moon cutting across the field. The nosepiece is not fully clicked into place, or the condenser is racked too low or off-center.
- Sharp at 10x, blurry at 40x. The slide is upside down, the front lens of the 40x is dirty, or there is oil on it from a careless turret swing.
- The image drifts as you watch. Water currents from a tilted stage, or too much water under the cover slip. Blot the excess and keep the stage level.
- The specimen shrivels and bubbles creep in from the edge. The wet mount is drying out under the lamp, especially a halogen. Work quickly, and add a drop of water at the cover slip edge.
- Specks that will not go away. Use the debris test below.
The Debris Test
Specks that float across the view are usually dirt on the optics rather than something on your slide. Run three checks in order:
- Rotate the eyepiece. If the specks turn with it, they are on the eyepiece.
- Move the slide. If the specks move with it, they are on the slide.
- Switch objectives. If the specks disappear, they were on that objective.
If none of those change anything, check the top lens of the condenser and the light port. Skin oil and mascara also smear eyepiece lenses, so clean them often with lens paper.
Good First Slides to Practice On
Practice the full routine on something forgiving three or four times before moving to anything delicate.
- A letter “e” cut from a newspaper. It looks like an upside-down, backwards “e,” which shows you inversion in 30 seconds and trains your hand for stage movements.
- Onion epidermis. A single layer of large cells that hold together, ideal for the 10x and 40x steps.
- A prepared, stained slide. No wet-mount mess, and the easiest way to practice the oil step. Our prepared microscope slides checklist shows what to look for when buying a set.
- Cheek cells. Nearly invisible without low light and a closed diaphragm, so they teach contrast control better than any lecture.
Britannica’s microscope entry explains how compound lens systems magnify, and brightfield microscopy explains why unstained cells look so faint. Once a slide is in focus, sketching what you see under a microscope is the best way to train your eye.
Frequently Asked Questions
Why is the image upside down under a microscope?
A compound microscope uses two lens systems, the objective and the eyepiece, and together they invert and reverse the image. It appears upside down and flipped left to right. Move the slide right and the image moves left; move it toward you and the image moves away.
How do I clean microscope lenses?
Blow off loose dust first with a bulb blower or gentle air, then wipe with fresh lens paper, lightly dampened with lens cleaner if the smear will not lift. Never use a tissue, paper towel, or your shirt, which scratch the coating and leave lint. Clean oil from the 100x immediately after each session.
Can I wear glasses while using a microscope?
Yes. Many people with simple near- or farsightedness take their glasses off and let the diopter ring compensate, which also lets the eye sit closer to the eyepiece and see the full field. Keep them on if you have astigmatism, which the focus rings cannot correct. Eyepieces with a high eyepoint, usually marked with a small glasses symbol, are designed to be used with glasses on.
What does parfocal mean?
Parfocal means the objectives on one nosepiece are built so the image stays roughly in focus when you rotate from one to the next. After switching, only a small fine-focus adjustment is needed. Budget microscopes are often only approximately parfocal. If you have not bought one yet, choosing your first microscope explains what to check before you pay.
Can I look at a coin, leaf, or insect with a compound microscope?
Not well. A compound microscope shines light up through the specimen, so it needs thin, translucent samples. Thick or opaque objects block the light and are better viewed with a stereo microscope, which lights them from above. Compound vs stereo microscope explains which to choose.
Conclusion
Knowing how to use a compound microscope means running the same twelve steps in the same order every time. Start safe at 4x and load the specimen cover slip up. Keep the condenser high, take brightness from the dimmer and contrast from the diaphragm, and coarse-focus at 4x only. Use the center-click-focus-adjust ritual at each step up, add oil only at 100x, and shut down back on 4x. The routine feels fussy at first, then becomes muscle memory.
Have you tried this yourself? Tell us in the comments which step tripped you up the most, or which specimen you practiced on first.