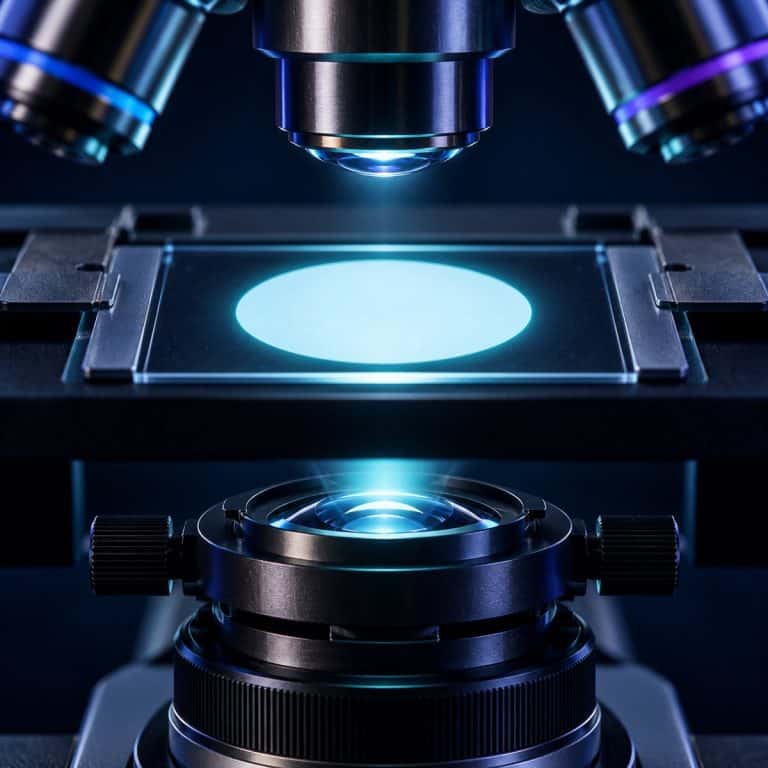
Köhler illumination is the technique that turns a harsh, uneven, filament-haunted microscope image into clean, even, glare-free light across the whole field of view. It takes about two minutes once you know the sequence, and the six-step process below is written for a kitchen-table hobbyist scope, not a university lab manual. By the end, you’ll be able to set it up from memory on any microscope that supports it.
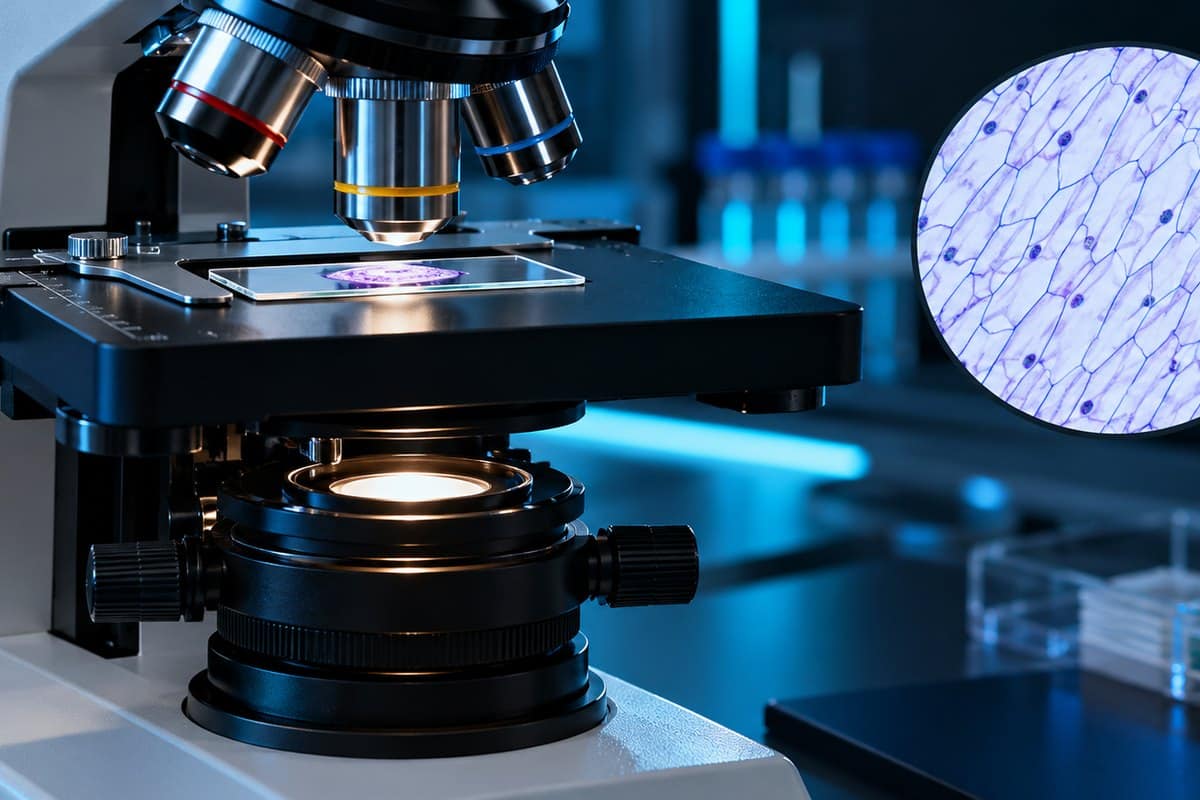
Why Köhler Illumination Matters
Without Köhler illumination, a compound microscope’s bulb or LED projects its own shape straight into the image. The result is a faint ghost of the filament, an uneven hot spot in the middle, or a dim, foggy ring around the edges. Köhler illumination fixes all of that by routing the light source through a different optical path than the specimen, so the lamp itself never comes into focus in what you’re viewing. See Nikon’s Köhler illumination guide for additional context.
The payoff is real: flatter, more even brightness across the entire field and sharper contrast. Photomicrographs won’t need a “fix it in post” pass to hide a lopsided light patch. Köhler illumination was developed by August Köhler in 1893 while he was working at Carl Zeiss in Jena, and it’s still the standard illumination method taught in every serious microscopy course. It just rarely gets explained for someone setting it up alone at home.
The Two Diaphragms You’ll Be Adjusting
Köhler illumination hinges on two separate controls that look similar but do completely different jobs. Mixing them up is the single biggest source of confusion for anyone learning this technique, so it’s worth knowing them by sight before you touch either one. Both work alongside the condenser, which focuses and directs the light up through the specimen. For a deeper technical breakdown of how the conjugate planes behind these two diaphragms actually work, Evident’s microscope anatomy guide to Köhler illumination is a solid reference. See Nikon’s condenser tutorial for additional context.
| Diaphragm | Location | Controls | Does NOT control |
|---|---|---|---|
| Field diaphragm | At the light exit, near the base of the microscope | The size of the illuminated circle in your field of view | Contrast or resolution |
| Aperture (condenser) diaphragm | On or under the condenser | The angle/cone of light — i.e., contrast and resolution | Overall image brightness |
Field diaphragm — what it does
The field diaphragm sits down at the base of the illuminator, where the light first leaves the lamp housing. Closing it shrinks the lit area down to a small polygon of light; opening it widens that lit circle back out. Its only job is controlling how much of the field of view is illuminated — it has nothing to do with sharpness or contrast.
Aperture (condenser) diaphragm — what it does (and what it does NOT do)
The aperture diaphragm lives on or underneath the condenser itself, and it’s the one hobbyists most often mistake for a brightness dial. What it actually adjusts is the angle of the light cone entering the specimen, which directly sets contrast and resolution. Closing it down doesn’t dim the image so much as change its character entirely.
How to Set Up Köhler Illumination (6 Steps)
Set up Köhler illumination at low power first — 10x is ideal — where the diaphragm edge and centering screws are easiest to see. You can fine-tune per objective afterward. Zeiss also publishes its own step-by-step Köhler illumination setup guide if you want a second walkthrough alongside a different scope.

- Focus your specimen first. Put a slide on the stage and bring it into sharp, standard bright-field focus at low power. Why: you need a real focal plane before the field diaphragm’s edge has anything to line up with.
- Close the field diaphragm almost all the way. Why: it shrinks the light down to a small polygon you can actually focus and center.
- Focus the field diaphragm edge by raising or lowering the condenser until that polygon’s edge turns razor-sharp. Why: this sets the condenser at the exact height where the light is focused in the same plane as your specimen.
- Center the field diaphragm using the condenser’s centering screws until the sharp polygon sits dead-center in the field. Why: even illumination only works if the light cone is sitting on-axis.
- Open the field diaphragm just until its edge disappears past the rim of the field of view — no further. Why: this lights the entire field without wasting light outside it as stray glare.
- Set the aperture (condenser) diaphragm for contrast, closing it to roughly 70–80% of the objective’s numerical aperture. Why: this balances contrast against resolution — it is not a brightness control, so leave the lamp dimmer for that.
Here’s what those steps actually look like through the eyepiece. Closing the field diaphragm first shows up as a small, fuzzy bright polygon — often more hexagonal than round — floating in an otherwise dark field, edges soft and haloed. As you rack the condenser, that blur snaps into a crisp-edged shape almost suddenly. A faint blue or orange fringe often appears right at the edge at best focus, so park it where that fringe is thinnest. If the polygon sits off to one side, the centering screws walk it back diagonally. Nudge both a little at a time rather than cranking one screw fully, or you’ll overshoot every time. Opening the field diaphragm afterward looks like watching an iris open outward; stop the moment its last flat edge slips past the rim of the view.
Watching it happen helps the first few times — the video above shows the same six moves on a real benchtop scope. That’s a useful sanity check the first time your field diaphragm refuses to snap into focus.
Setting the Aperture Diaphragm for Contrast (Not Brightness)
The aperture diaphragm is set correctly when it’s closed to about 70–80% of the objective’s numerical aperture — not fully open, not choked all the way down. To check this properly, pull an eyepiece out and look straight down the empty tube (or use a phase telescope or Bertrand lens if your scope has one). You’ll see a bright disc — the objective’s back focal plane — with a dark iris edge closing in from the outside. Stop closing the diaphragm once it’s cut off roughly the outer 20–30% of that disc. Nikon’s MicroscopyU alignment tutorial has an interactive version of this same back-focal-plane check if you want to see it simulated before trying it on your own scope.

Closing the aperture diaphragm further than that makes the image look “crunchier” — higher contrast but noticeably grainier — while destroying resolution and introducing diffraction artifacts around fine detail. Opening it wider than that floods the image with glare and flattens everything into a washed-out haze. If the image looks too dark or too bright at the correct aperture setting, don’t touch this diaphragm — adjust the lamp’s voltage or rheostat, or add a neutral-density filter, instead.
Does Your Microscope Support Köhler Illumination?
Not every microscope can do true Köhler illumination, and it’s worth checking before you go hunting for a field diaphragm that isn’t there. Your scope needs both of the following:
- A dedicated field diaphragm at the light exit, separate from the aperture diaphragm on the condenser.
- A condenser that both racks up and down (focusable) and has centering screws (centerable).
Many entry-level and student microscopes skip the field diaphragm entirely and only have a simple aperture diaphragm on the condenser — sometimes paired with a fixed, non-centerable condenser. If that describes your scope, you can’t perform true Köhler illumination. The best available substitute is critical illumination, adjusting the aperture diaphragm and condenser height as best you can for even light instead.
Common Mistakes and Troubleshooting
A handful of Köhler illumination mistakes come up constantly for people setting it up alone for the first time:
- Using the aperture diaphragm as a brightness knob. The image goes dim but looks flat and hazy instead of properly darker. Fix: leave the aperture diaphragm near the 70–80% NA mark and dim the lamp’s voltage or add a neutral-density filter instead.
- Racking the condenser all the way down to reduce glare or “see more.” This breaks the conjugate-plane relationship Köhler illumination depends on, producing uneven light and a visible filament ghost. Fix: keep the condenser high, just under the stage, and set its height by focusing the field diaphragm’s edge — never by eye comfort.
- Focusing the field diaphragm with no specimen in focus. There’s no real focal plane for the diaphragm edge to match. Fix: get a specimen sharp first, every time, before closing and focusing the field diaphragm.
- Field diaphragm edge won’t come fully sharp. This usually means the condenser’s top lens is missing, flipped, or the condenser is racked to the wrong height — or the slide is unusually thick and pushing the focal plane out of range.
- Illumination looks lopsided after you bump the stage or condenser. Centering drifts with physical knocks. Re-check centering first whenever the light looks uneven, before assuming anything else is wrong.
Köhler vs Critical Illumination
Critical illumination is the simpler, older method — it images the light source directly onto the specimen. The picture is bright, but the lamp’s filament or LED structure is often visible as a faint pattern in the field. Köhler illumination instead images the light source into the aperture plane — at the objective’s back focal plane, not the specimen plane. That’s exactly why the filament never appears in a properly set-up image. If your microscope can’t do Köhler illumination, critical illumination is the practical fallback, just with that visible-source tradeoff built in.
Frequently Asked Questions
Why does the field diaphragm’s edge show a color fringe as I focus it?
A faint blue or orange fringe right around best focus is normal — it’s simple chromatic aberration in the illuminating optics, not a fault. Park the condenser height where that fringe is thinnest and the edge itself looks knife-sharp; that’s the correct focus point.
Does Köhler illumination apply to reflected-light microscopes too?
Yes, in principle. Reflected-light (episcopic) microscopes used for metals or opaque materials have their own version, adjusted through the epi-illuminator rather than a sub-stage condenser. But the underlying idea is identical: keep the lamp’s image out of the specimen plane. This guide covers the far more common transmitted-light setup on hobbyist compound scopes.
How often do you need to re-set Köhler illumination?
Re-check it whenever you change objectives, since condenser height and aperture settings are objective-dependent. It’s also worth re-checking after swapping to a slide of very different thickness or after bumping the stage or condenser.
Why can I still see the lamp filament or uneven light after setup?
This usually means the field diaphragm isn’t centered, the condenser is at the wrong height, or the top lens of the condenser is missing or flipped. Re-verify centering first, then re-focus the field diaphragm edge before rechecking aperture settings.
Do I need to remove an eyepiece to check the aperture diaphragm?
Not strictly, but it’s the most reliable way to see what you’re doing. Pulling an eyepiece and looking down the tube shows the back focal plane directly, so you can see exactly how much of it the aperture diaphragm is covering.
Is Köhler illumination only useful for photography, or does it help regular viewing too?
It helps regular eyepiece viewing just as much as photography. Even, glare-free light with the correct contrast/resolution balance makes fine detail easier to see at the eyepiece, not just cleaner in a captured image.
What if my condenser has no centering screws at all?
A fixed condenser without centering screws can’t be adjusted for true Köhler illumination, even if it’s focusable. You can still get close by focusing the field diaphragm edge and adjusting the aperture diaphragm, but perfect centering won’t be possible.
Conclusion
Köhler illumination comes down to six repeatable moves. Focus your specimen, close and focus the field diaphragm, center it, open it back up to the field’s edge, then set the aperture diaphragm for contrast rather than brightness. Once you’ve run through it a few times on your own scope, the whole sequence takes well under a minute. It becomes second nature before you even sit down to look at a slide. If the condenser and diaphragms are still unfamiliar, how to use a compound microscope covers each control before you try Köhler.
Have you tried setting up Köhler illumination on your own microscope yet? Tell us in the comments what tripped you up the first time — a stubborn field diaphragm edge, a condenser that wouldn’t center, or something else entirely. Then tell us what finally got it sharp.