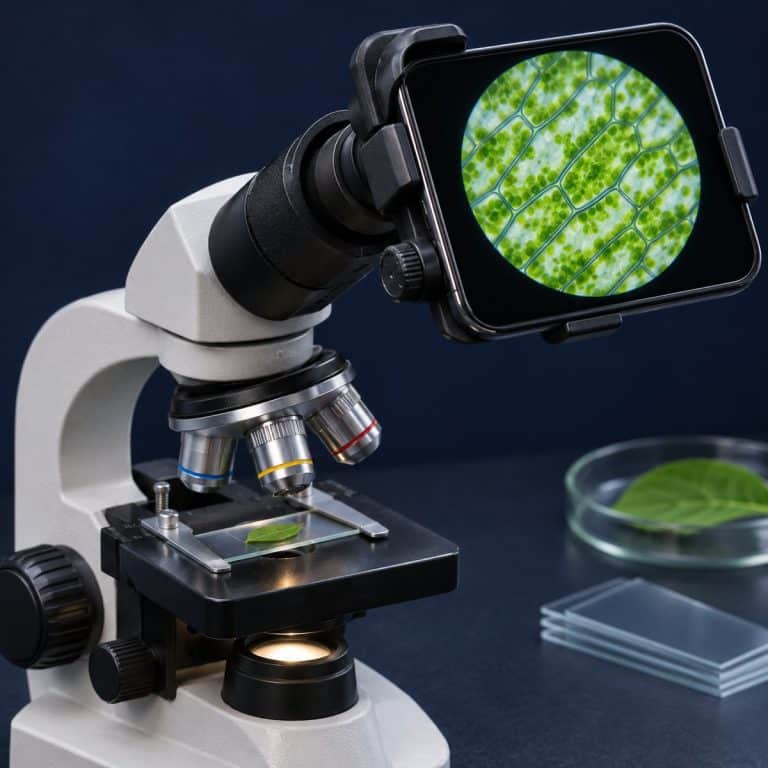
Taking pictures through a microscope works three ways: hold a phone at the eyepiece, fit a dedicated microscope camera, or mount a DSLR or mirrorless body on a trinocular port. Whichever you pick, sharp results depend on even lighting, locked focus and exposure, and a vibration-free shutter. This guide compares the three methods, then covers the settings, lighting, and focus stacking that separate a crisp photomicrograph from a blurry orange circle.
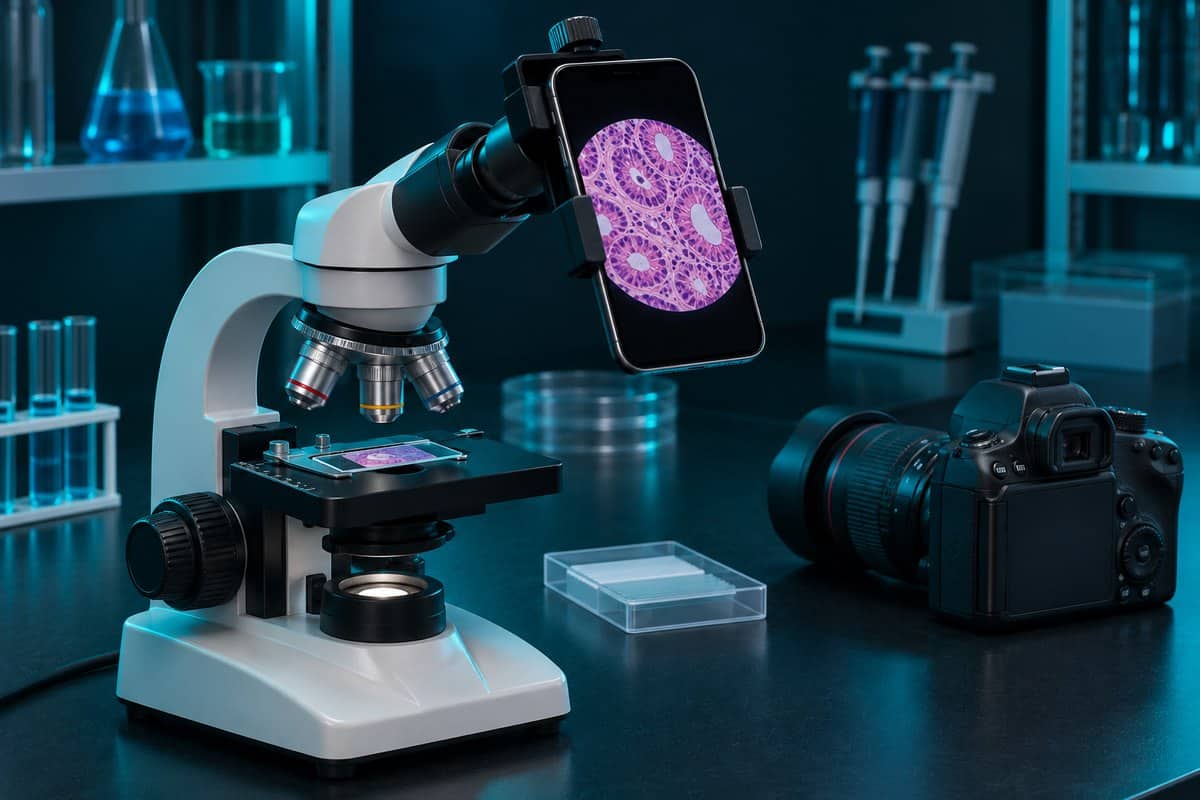
Phone, Microscope Camera, or DSLR: Which Method Fits?
The three methods differ mostly in setup effort and sensor size, not in detail captured. The objective, not the camera, sets resolution. At 40x with a 0.65 numerical aperture, the smallest resolvable detail is about 0.52 µm, no matter how many megapixels sit behind it. A better camera buys lower noise, more dynamic range, and convenience. What numerical aperture means for resolution explains why. See Nikon’s camera-resolution matching guide for additional context.
| Feature | Phone at the eyepiece | Dedicated microscope camera | DSLR or mirrorless |
|---|---|---|---|
| Cost tier | Low | Medium | Higher |
| Image quality | Good for sharing and notes | Good to very good | Best (large sensor, RAW, low noise) |
| Setup effort | Low, but alignment is fiddly | Medium | Highest |
| Needs a trinocular port? | No | Not always (eyepiece-tube models exist) | Yes |
| Live view on a screen | Phone screen | Computer or HDMI monitor | Tethered laptop or camera screen |
| Best for | Students and quick records | Classrooms, measurement, video | Publication-quality stills |
Start with the phone for sharing and logging observations. Move to a dedicated camera for live measurements or video on a big screen. Choose a DSLR only if your scope has a camera port; see choosing a trinocular microscope with a camera port. USB and LCD digital microscopes are a separate category, covered in our roundup of digital microscopes with built-in sensors.
How to Take Pictures Through a Microscope With Your Phone
Phone photography is afocal: the phone lens sits at the eyepiece and focuses at infinity, capturing the same virtual image your eye sees. Expect a small bright dot in a black screen at first; lower the phone and the circle swells to fill the frame, then black crescents creep in whenever your hand drifts. See Nikon’s optical-train guide for additional context.
- Focus by eye first. Find the specimen and focus through the eyepiece before the phone touches anything. Trying to hunt for the specimen on the phone screen is the most common beginner mistake. If your focusing technique is shaky, see how to focus a microscope without cracking the slide.
- Start at 10x. It gives a brighter image and far more depth of field than 40x or 100x oil (why immersion oil must match the glass). Move up once your setup works.
- Set up even lighting. Dim the room, since reflections off the eyepiece glass show up as flare, then follow the lighting section below.
- Mount the phone. Clamp an adapter on the eyepiece and center the phone lens on the optical axis. Keep the adapter on a spare eyepiece and swap eyepieces instead of re-aligning.
- Find the eyepoint and remove the black circle. The eyepoint (exit pupil) sits roughly 10–20 mm above the eyepiece, depending on the eyepiece. A dark crescent that slides around means the lens is off-center or at the wrong distance. Adjust until the circle fills the screen, then zoom 2x–3x with a telephoto lens if you have one; heavy digital zoom throws away pixels.
- Lock focus and exposure. Tap the specimen, then long-press to lock AE/AF (auto exposure and autofocus) on an iPhone, or use Pro or Manual mode on Android. Phones over-expose dark backgrounds and under-expose bright brightfield fields, so dial in exposure compensation. Turn off HDR and Night mode, which blend frames and smear moving cells.
- Use a timer or remote shutter. A 2–3 second self-timer, or the volume button on wired earbuds, stops the jump you get from tapping the screen at 400x.
- Shoot 5–10 frames per view. One is almost always noticeably sharper. Clean the phone lens first, because pocket lint causes more hazy shots than any optics problem.
Your live view often looks sharper than the saved file because phone autofocus hunts and refocuses on the eyepiece rim or dust. Locking focus fixes this. For phone-side tools, see microscope apps that add measurement and capture tools to your phone.
Shooting Without an Adapter
Brace the edge of the phone against the eyepiece rim with both hands, then move the lens slowly toward the eyepoint until the circle fills the screen. Rest your elbows on the bench and use the timer. Handheld shots work at 4x and 10x but fail at 400x, where a tiny tremor ruins the frame.
Using a Dedicated Microscope Camera
A dedicated microscope camera has no lens of its own; the sensor sits in the image plane of the phototube. Most use the C-mount standard, a 1-inch thread with 32 threads per inch and a 17.526 mm flange focal distance, which screws onto the trinocular port. Scopes without a camera port can use models that replace an eyepiece, though you lose that eyepiece for viewing.

Sensor size matters. A small sensor on a bare C-mount crops into the center of the field, like looking through a keyhole. A reduction (relay) lens of 0.35x–0.5x widens the view: roughly 0.5x suits sensors of about 1/2″–2/3″, and 0.35x suits about 1/3″. Camera software adds live measurement, flat-field correction, and built-in stacking.
USB bandwidth caps frame rate at high resolution, while HDMI cameras give smooth live view on a monitor and often record to an SD card. MicrobeHunter’s camera connection guide covers the hardware in more depth.
Making the Camera Parfocal With the Eyepieces
If the camera image is soft while your eyes see it sharp, the camera is not parfocal (it does not hold focus at the same stage height as the eyepieces). Focus the eyepieces precisely using the diopter ring (the eyepiece’s own focus adjustment), then adjust the camera’s focus or height adjustment until its image matches. Do this once; never fix it by refocusing the scope.
Attaching a DSLR or Mirrorless Camera
A DSLR or mirrorless body needs a trinocular port plus an adapter with relay optics, typically around 2x–2.5x, and a T-ring (the mount ring that fits your camera body to the adapter). The relay optics enlarge the image circle to fill an APS-C or full-frame sensor, giving the cleanest files: RAW, low noise, wide dynamic range.
Vibration is the main enemy. At 400x and above, mirror slap or a shutter press can blur the frame. Use mirror lock-up, an electronic first-curtain or fully electronic shutter, and a 2-second delay or tethered trigger. Tethering to a laptop also gives you magnified live focus. If your trinocular head has a 50:50 beam splitter, the camera receives half the light and exposures double, so push the rod to 100% camera when you can.
Camera Settings for Sharp Microscope Photos
Static specimens forgive long exposures. These settings apply to every method.
- ISO: keep it at 100–400. Let the shutter speed lengthen instead of raising ISO.
- Exposure: lock AE and AF, then use exposure compensation to correct for bright or dark backgrounds.
- White balance: set a custom balance on an empty, bright part of the slide, or shoot RAW and correct later.
- File format: use RAW or TIFF for stacking and correction. JPEG is fine for quick sharing.
- Shutter trigger: always use a timer, remote, or tether.
- Flash, HDR, and Night mode: turn all three off.
Lighting for Evenly Lit Images
Köhler illumination is the biggest single lighting upgrade, because it produces even, glare-free light across the whole field. It needs a field diaphragm and a focusable condenser. Follow a step-by-step Köhler illumination setup once, and your images improve at every magnification.
The aperture diaphragm sets the trade-off between contrast and resolution. Close it to roughly 70–80% of the objective’s numerical aperture as a starting point. Closed too far, you get diffraction halos and lost resolution. Too open, unstained specimens wash out. An unstained onion or cheek-cell slide can look almost invisible until you close the diaphragm slightly and the edges pop with a faint dark outline. Raise the condenser close to the slide on most stands; see setting the microscope condenser and its aperture diaphragm and how the iris diaphragm controls contrast.
Set brightness with the lamp dimmer, not the diaphragm. Maximum lamp power with a fully closed diaphragm gives glare, burnt highlights, and halos. Halogen bulbs (about 3,000–3,200 K) cast an egg-yolk orange tint, so use a daylight filter or correct white balance. For transparent specimens, brightfield, darkfield, and phase contrast compared shows when to switch methods.
Finally, shoot a blank frame with no specimen at the same settings. Dividing it out in software removes dust spots and uneven light, a step called flat-field correction.
Focus Stacking: Beating Shallow Depth of Field
Focus stacking merges a series of photos taken at small focus steps into one fully sharp image. It solves the shallow depth of field at high magnification. The values below follow Nikon MicroscopyU’s depth of field data, for green light at 0.55 µm.
| Objective | Numerical aperture | Depth of field |
|---|---|---|
| 4x | 0.10 | ~55.5 µm |
| 10x | 0.25 | ~8.5 µm |
| 40x | 0.65 | ~1.0 µm |
| 60x | 0.85 | ~0.4 µm |
| 100x (oil) | 1.40 | ~0.19 µm |
A pollen grain is roughly 25–40 µm thick, so at 40x only a 1 µm slice is sharp. In one shot it shows a crisp rim and a mushy, glowing center; a stack of 30–40 frames makes it look like a solid 3D ball. For the theory, see how depth of field shrinks as microscope magnification rises.
- Lock everything. Fix exposure, white balance, and focus mode, and use a timer or tether.
- Start just above the specimen. Focus on the top surface, or slightly above it.
- Step down by about one depth of field. Slightly less gives 20–30% overlap. Many fine-focus knobs move about 1–2 µm per graduation, but check the markings on yours and count graduations to keep steps even.
- Shoot until past the bottom, then merge in stacking software. Helicon Focus and Zerene Stacker are commercial, Picolay and CombineZP are free for Windows, and Affinity Photo and Photoshop have built-in stacking.
Worked example: number of shots is about specimen thickness divided by step size. For a 30 µm specimen at 40x, with a depth of field of about 1 µm, expect 30–40 frames. At 10x, with a depth of field of about 8.5 µm, the same specimen needs only 4–6 frames.
Stacking only works on fixed or prepared slides: a living specimen that swims out of the focal plane mid-stack produces ghosted duplicates.
Troubleshooting Common Microscope Photo Problems
| Symptom | Likely cause | Fix |
|---|---|---|
| Black circle or dark crescent | Phone lens off-center or wrong distance from the eyepoint | Re-center, adjust distance, zoom 2x–3x |
| Soft or blurry image | Autofocus hunting, vibration, or diaphragm closed too far | Lock focus, use a timer, open the diaphragm to 70–80% of NA |
| Orange or blue cast | Halogen or LED color temperature | Custom white balance on a blank area, or shoot RAW |
| Bright center, dark edges | Misaligned illumination | Set up Köhler illumination, apply flat-field correction |
| Gray donuts that stay put | Dust on the sensor, adapter, or eyepiece | Slide the specimen; spots that do not move are not on the slide, so clean the optics |
| Camera soft but eyepiece sharp | Camera not parfocal | Adjust the adapter, not the scope focus |
Adding a Scale Bar
A scale bar is the correct size reference for a digital image. Quoting “400x” on a photo means nothing, because the magnification changes with screen size. Photograph a stage micrometer (commonly 1 mm divided into 100 parts of 10 µm each) at every objective, using the same camera setup. Then add calibrated bars in free software such as ImageJ/Fiji. Put the objective in each file name, like onion-40x-01.jpg. To record what you see alongside the photo, try sketching what you see under a microscope.
Frequently Asked Questions
Do I need a trinocular microscope to take pictures?
No. A phone works on any scope with an eyepiece, and some microscope cameras slip into an eyepiece tube. You only need a trinocular port for C-mount cameras and DSLR adapters.
What is the difference between photomicrography and microphotography?
Photomicrography means photographing tiny things through a microscope; the result is a photomicrograph. Microphotography means making very small photographs, such as microfilm or microdots.
Can I use a webcam or an old point-and-shoot camera?
Yes, with limits. A point-and-shoot works afocally like a phone, and a webcam with its lens removed can sit in an eyepiece tube, though quality trails a purpose-built camera. For plug-in options, see USB microscopes that plug straight into a computer.
How many megapixels do I need?
Fewer than you think. Extra megapixels cannot add detail the objective never resolved, and digital zoom is the same trap: empty magnification.
How do I photograph swimming specimens like paramecia?
Record video under bright light and pull the sharpest frames, or use a fast shutter speed. For phone gear, see iPhone microscope attachments compared.
Is it safe to leave a phone clamped over the lamp?
Not for long. Halogen housings get hot, and heat dries wet mounts within minutes, letting in bubbles and shrinking cells. Work quickly, or seal the coverslip edges with petroleum jelly or nail polish.
Conclusion
Taking pictures through a microscope starts with the easiest method that fits your gear: a phone for quick records, a microscope camera for live measurement, or a DSLR for the cleanest stills. Whatever you choose, even lighting, locked exposure and focus, vibration control, and focus stacking matter more than the camera body. Start at 10x, find the specimen by eye, and add a scale bar before you share anything.
Have you tried this yourself? Tell us which method you used, what went wrong, and what finally fixed it in the comments below.