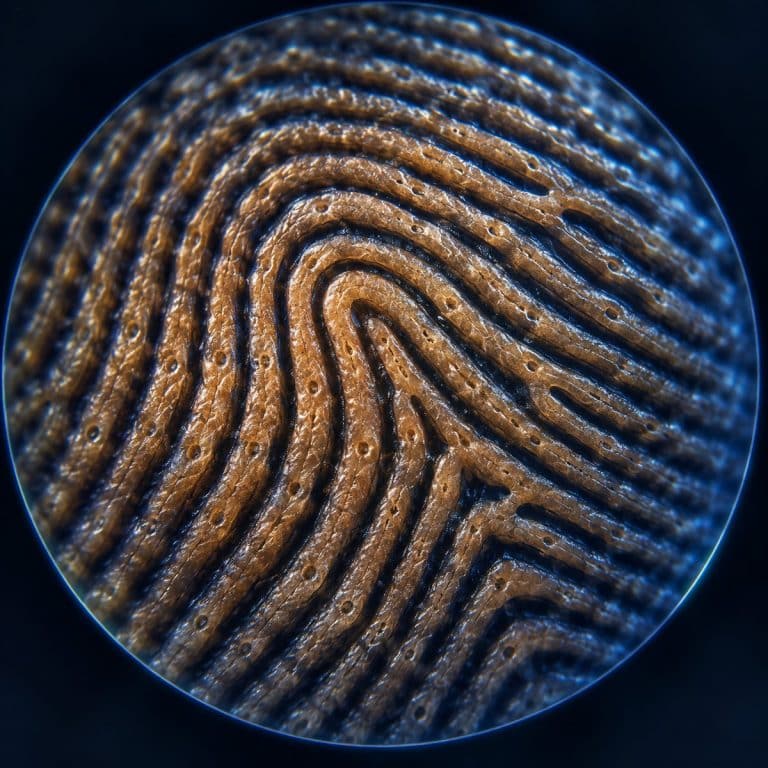
A fingerprint under a microscope resolves into rows of raised friction ridges separated by shallow furrows, with a single-file line of sweat pores marching along the crest of every ridge. Forensic examiners read that same surface at three separate levels of detail — pattern, minutiae, and pores — and each level needs a different amount of magnification to see clearly.
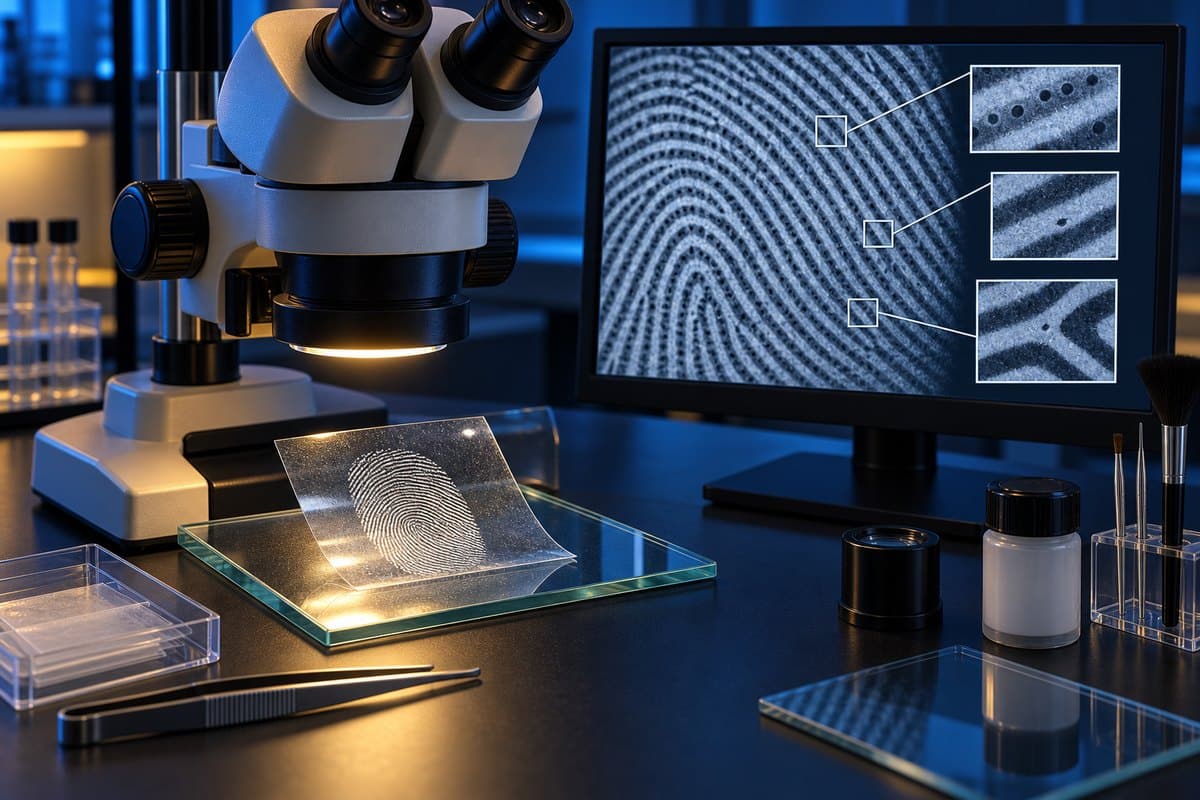
What a Fingerprint Looks Like Under the Microscope
At low power, around 10–20x, a fingerprint looks like a plowed field seen from above: broad, pale ridges running in parallel curves, with darker, narrower furrows cut between them. The ridges aren’t smooth lines — they wobble slightly, split, and stop, which is exactly the detail examiners care about later. On live skin you’ll also spot flakes of dead skin caught in the furrows and a faint shine of oil across the ridge tops. The occasional thin white scar or crease also slices across the pattern where it doesn’t belong. NIST defines a fingerprint minutia as a ridge ending, bifurcation, dot or related feature.
Push the magnification higher on a flat sample — an inked print rather than a curved fingertip — and the ridges stop looking like plain hills. Each one develops texture along its top edge, and a new feature appears that most people never notice with the naked eye.
The Sweat Pores Along Each Ridge
Sweat pores are the surface openings of eccrine sweat gland ducts. On a flat inked print, at roughly 40–100x, they pop out as a neat row of tiny round craters running single-file along the top of each ridge. The spacing looks almost like stitching. Pore size, shape, and spacing vary from person to person, which is the basis of a forensic technique called poroscopy. You generally won’t catch a clean pore row on live, curved skin — that level of detail needs a flat surface, which is why examiners work from inked prints, lifted latents, or high-resolution photographs rather than the finger itself.
That sweat and the skin oil riding with it are also what make a fingerprint show up on a glass or doorknob in the first place. The invisible “latent” print left behind is deposited straight from those ridge-top pores. Eccrine sweat is around 98–99% water plus sodium chloride, amino acids, urea, and lactic acid. Sebaceous oil picked up from other parts of the body adds the greasy residue that holds fingerprint powder. The amino acids in that sweat are what react with ninhydrin, while cyanoacrylate (superglue) fuming polymerizes on the whole residue — both develop a latent print so it can be seen, the kind of chemistry NIST’s latent print research works to standardize across crime labs.
How to View Your Own Fingerprint Under a Microscope
Viewing your own fingerprint under a microscope takes three basic choices: how you present the print, how much magnification you use, and how you light it. Get those three right and a cheap scope shows ridge detail clearly in under a minute.
- Pick your sample. Roll one finger, nail-edge to nail-edge, once — don’t re-roll or you’ll get a smeared double image. Use a thin, even layer of ink or a fingerprint stamp pad, then press the finger onto plain white paper. A too-thick ink layer clogs the furrows and reads as a black blob, so use as little ink as you can and still get full coverage. If you’d rather not ink up, a lifted latent print pressed onto a strip of clear tape works too. You can also view a bare finger directly for the pattern-level view.
- Set a low magnification first. Start at roughly 10–40x, not the highest setting your scope offers. A whole ridge pattern only comes into focus at low power; cranking to maximum magnification first is the most common beginner mistake.
- Mount the sample flat. For an inked print, you can use a standard glass slide as a rigid backing, or simply lay the paper flat on the microscope stage. If you’re examining a wet sample alongside your print work, our guide on how to make a wet mount slide covers the technique.
- Light it from the side. Angle your light source so it rakes across the surface instead of shining straight down. Direct overhead light washes out the low-relief ridges; oblique lighting throws shadows into the furrows and makes the pattern pop.
- Focus on one small strip at a time. Rest a live finger lightly on the stage rather than pressing hard — pressing flat smears the ridges and squashes the pores shut. Bring one section into sharp focus, then move the slide slightly rather than trying to hold the whole print in focus at once.
- Increase magnification on the flat sample. Once you’ve confirmed the pattern at low power, switch to the inked print or lifted latent. Step up toward 100x to look for the pore row along the ridge crests.
What Magnification You Actually Need
Ten to forty times magnification is enough to see the full ridge pattern clearly. You do not need anything close to 1,000x to find a fingerprint — that’s a common misconception. Forensic examiners themselves typically start with hand magnifiers or loupes in the 4–10x range for pattern and minutiae work. Only the finer pore and ridge-edge detail benefits from higher magnification or high-resolution photography. A handheld USB microscope or a stereo scope suits this task better than a compound microscope. You want low power and generous working distance, not the tight, high-power optics a compound scope is built for.

The Depth-of-Field Problem (and How to Beat It)
The fingertip’s curved surface is the single biggest obstacle to viewing a fingerprint at higher power. As magnification increases, depth of field shrinks. On a rounded fingertip, only a hair-thin strip of ridge stays in sharp focus while the rest blurs away — push too far and you lose the whole pattern to that curve. A flat inked print or a lifted latent pressed onto tape solves the problem outright. A flat subject lets you raise the magnification without fighting the geometry of a fingertip. Sweat and skin oil pressed directly against a USB scope’s lens can also fog the image. A light touch and a quick wipe of the lens between attempts keeps the view clean.
The Three Fingerprint Patterns — Loops, Whorls & Arches
Every fingerprint pattern sorts into one of three broad classes. Examiners orient within each pattern using two landmarks: the delta, a triangular point where ridges meet, and the core, the center of the pattern.
| Pattern | Approximate frequency | How to recognize it |
|---|---|---|
| Loop | ~60–65% of prints | Ridges enter from one side, curve around, and exit the same side |
| Whorl | ~30–35% of prints | Ridges form circular or spiral shapes, generally with two deltas |
| Arch | ~5% of prints | Ridges enter one side and exit the other, rising in the middle; plain arches have no delta |
These population figures are approximate and vary slightly between studies, so treat them as a general guide rather than an exact split. The pattern class alone is not what makes a fingerprint identifiable — loops and whorls are each shared by millions of people. The pattern only tells an examiner where to start looking.

Minutiae: The Points That Make a Print Unique
Minutiae are the small, irregular features scattered across a fingerprint’s ridges — sometimes called Galton points — and they’re what actually individualizes a print, not the loop, whorl, or arch shape it belongs to. The main types are: NIST also publishes a standard for examining friction-ridge impressions that covers patterns and minutiae.
- Ridge ending — a ridge simply stops, with nothing continuing past it.
- Bifurcation — a single ridge splits into two.
- Dot or island — a very short, isolated ridge on its own.
- Lake or enclosure — a ridge splits and then rejoins, forming a small closed loop or “eye.”
- Spur, bridge, and crossover — combinations of the features above.
Fingerprints form in the womb, with primary ridges appearing around weeks 10–13 of gestation as the underlying volar pads (temporary raised pads of tissue on the fetal fingertip) recede, according to developmental biology research published in Cell. That ridge formation is shaped by pressure and random variation during the process, rather than by genes alone. That’s why identical twins share the same DNA but end up with different minutiae patterns — the ridges themselves are a product of development, not a direct genetic printout. An examiner comparing two prints looks for a matching sequence of minutiae in the same relative positions, not just a similar overall pattern shape.
How Forensic Examiners Read Prints (The Three Levels & ACE-V)
Forensic examiners work through fingerprint evidence using a four-stage method called ACE-V: Analysis, Comparison, Evaluation, and Verification, checking a print against three progressively finer levels of detail along the way.
| Level | What it captures | Magnification typically needed |
|---|---|---|
| Level 1 | Overall pattern class — loop, whorl, or arch, plus delta and core position | Naked eye or low-power loupe (roughly 4–10x) |
| Level 2 | Minutiae — ridge endings, bifurcations, and related points used for matching | Hand magnifier or loupe (roughly 4–10x) |
| Level 3 | Sweat pores (poroscopy), ridge edge shapes (edgeoscopy), ridge width, and incipient ridges (thin, underdeveloped ridges between full-height ones) | Higher magnification or high-resolution photography |
Level 1 narrows down which general family of pattern is present. Level 2 supplies the minutiae that get compared point-to-point between two prints, which is the core of a traditional match. Level 3 is only pulled in when finer confirmation is needed, since resolving pores and ridge-edge shape reliably takes more magnification and image quality than a standard loupe provides. This same three-level logic is what separates a flat “fingerprints are unique” claim from how a fingerprint is actually read. Individualization comes from minutiae and pore-level detail, not from the pattern class alone.
Frequently Asked Questions
Are fingerprints really unique?
Yes, at the level of minutiae and pore detail — no two people, including identical twins, have been found to share the same exact arrangement of ridge endings, bifurcations, and pores. The broader pattern class, like a loop or whorl, is common to millions of people, so uniqueness comes from the finer detail, not the overall shape.
Do identical twins have the same fingerprints?
No. Identical twins share the same DNA, but fingerprint ridges form from pressure and random developmental variation in the womb, not from genes alone. Even genetically identical twins end up with different minutiae patterns.
Why do we have fingerprints?
Friction ridges are thought to improve grip and touch sensitivity, helping fingertips handle objects and sense texture. The exact mix of functions is still studied, but grip and tactile feedback are the leading explanations.
Can fingerprints be seen with a phone or USB microscope?
Yes — a clip-on phone lens or a cheap USB microscope will show the ridge pattern clearly at low power. It can also pick up sweat pores on a flat inked print if you push closer to 100x. The how-to section above covers the setup that gets the clearest result.
Why does a fresh fingerprint look different from an old one on the same finger?
The ridge pattern itself doesn’t change. But sweat, oil, pressure, and even minor scarring or dryness can change how clearly individual pores and edges show up from one impression to the next. That variability is exactly why examiners compare against a full set of minutiae rather than a single feature.
Do fingerprints ever change over a person’s life?
The underlying ridge pattern is permanent and regrows the same after superficial cuts or abrasions, since it’s set by structures deeper in the skin. Only damage that reaches those deeper layers, such as a deep scar, can permanently alter the pattern.
Conclusion
A fingerprint under a microscope is far more than a swirl of lines — it’s a layered structure of friction ridges, sweat pores, and minutiae. Forensic examiners read that structure in three distinct levels of detail, using nothing more exotic than a loupe and, for the finest work, higher magnification on a flat print. The same setup that reveals human hair under a microscope or cells scraped from your own cheek can show you this detail on your own fingertip, once you know to keep the magnification low, the sample flat, and the light coming in from the side.
Have you tried inking your own print and finding the pore row along a ridge? Tell us what magnification it took to see it clearly in the comments below.