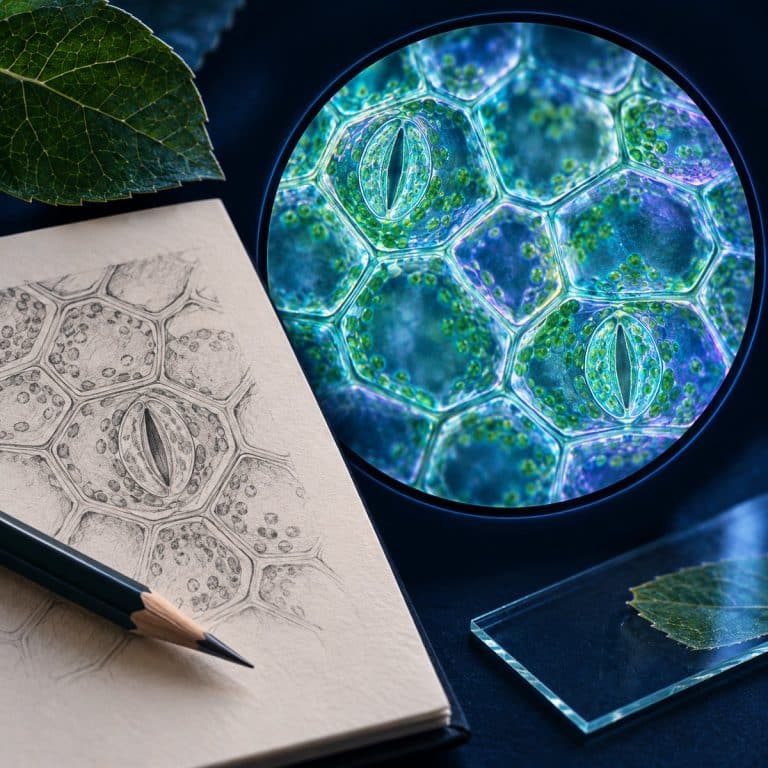
Sketching what you see under a microscope means drawing in sharp pencil with single continuous lines, no shading, and ruled labels for only the structures you can actually point at in the eyepiece right now. That’s not what the textbook diagram says should be there. It’s still worth doing with a phone in your pocket, because a photo freezes one paper-thin slice of focus. A drawing built by riding the fine focus integrates the whole specimen into one accurate image instead. That’s the reason Santiago Ramón y Cajal’s century-old neuron drawings are still reprinted in neuroscience textbooks today.
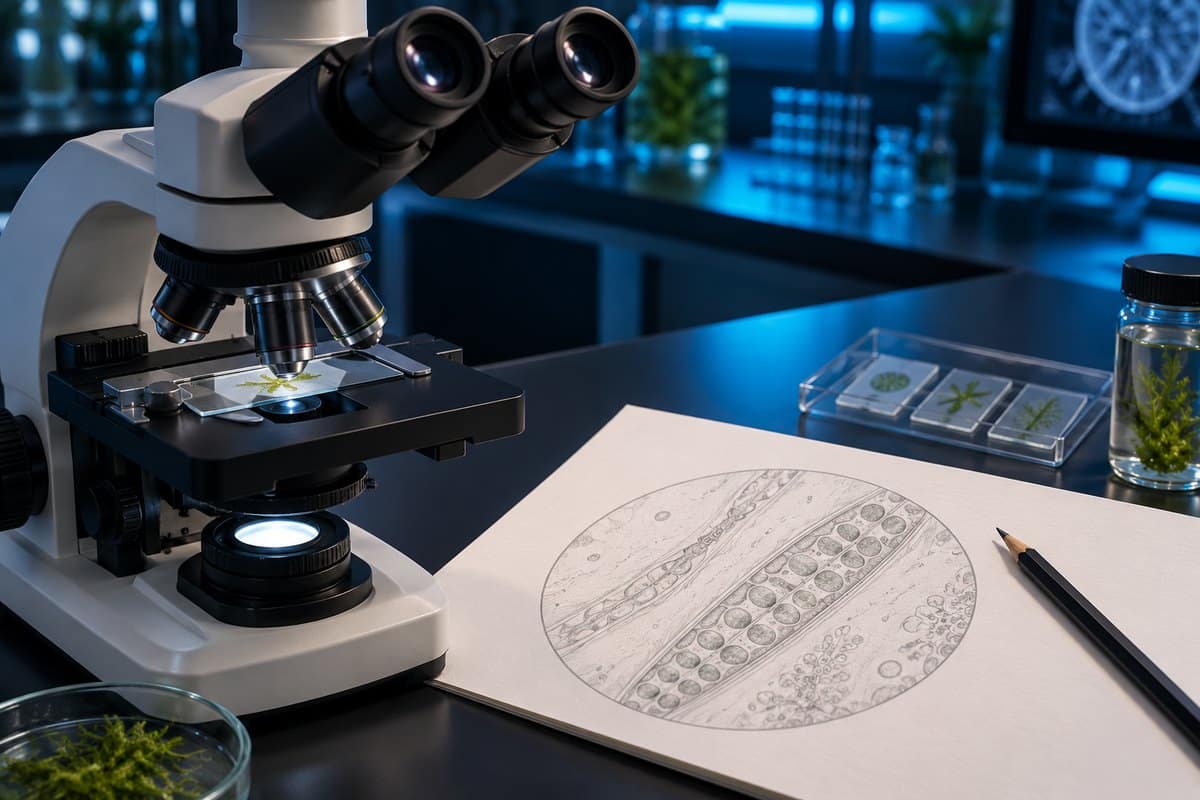
The 8-Step Process: From Eyepiece to Finished Drawing
Step 1: Get a properly focused, well-lit image first
You can’t draw what you can’t clearly see. Bring the specimen into sharp focus using coarse then fine focus, and adjust contrast by closing the iris diaphragm slightly. Don’t close it far, or you’ll generate dark halos and end up drawing diffraction artifacts as if they were real structures. If you’re working from a wet mount, preparing your slide carefully now saves you from redrawing later when the edges start to dry. Know which objective lens (4x, 10x, 40x, or 100x) you’re on before you start — you’ll need it for the title. See Nikon’s micrometry guide for additional context.
Step 2: Scan the whole slide before you draw anything
Move the stage in a grid pattern at low power first. Pick a representative region, not just whatever happened to land in the center of the field when you first looked down. A single cell near the coverslip edge is often folded or torn — not typical of the tissue.
Step 3: Decide what kind of drawing you’re making
A low-power plan and a high-power detail are two different drawings with two different jobs — pick one before you start, covered fully in the section below.
Step 4: Block in the big shapes lightly
Get proportions and position right first, with faint construction lines you’ll firm up later. Relative size and placement of structures is data. An onion cell’s nucleus sits pressed against one side wall, never floating in the center the way the textbook diagram shows it. That off-center position is worth getting right at this stage.
Step 5: Commit to single continuous lines
Look at the structure, lift your eyes, then draw the whole curve in one confident movement from the forearm and elbow, not the fingers. Short finger strokes are what produce the hairy, repeated lines that read as uncertainty — because they are uncertainty. A cell boundary under the scope actually looks like a gray band with a bright halo beside it, not a black line. Drawing it as one clean line is already an abstraction, and that’s the correct convention, not a failure to capture the optics.
Step 6: Add texture with stippling — never shading
Never shade with the side of the pencil; it smudges and hides the very edges you’re trying to record. Use stippling — dots, denser where the structure is darker — or light cross-hatching, sparingly.

Step 7: Rule your label lines and write labels horizontally
Leave a two-inch margin down the right side before you draw. That’s where every label goes, and running out of room is the most common reason label lines end up crossing. Rule each leader line straight with a ruler, touching the structure exactly, never crossing another line. Print labels horizontally in a column, not cursive, not rotated.
Step 8: Title it with specimen, view, stain, and magnification
Write the title — specimen name (italicized if binomial), the view, the stain used, and the magnification — before you start drawing, not after. Doing it first also stops you forgetting which objective you were on by the time you finish.
The Rules of Biological Drawing (and Why Each One Exists)
Every convention in standard biological drawing practice exists to keep a sketch honest as data, not decoration: See OpenStax’s microscopy overview for additional context.

| Rule | Why it exists |
|---|---|
| Sharp pencil only — HB for outlines, 2H for fine detail — on plain unlined paper | Pencil is correctable; ink commits you to a first guess |
| Single continuous lines, no sketchy or doubled strokes | An ambiguous line is ambiguous data |
| No shading — stipple or cross-hatch sparingly instead | Smudged graphite hides the edges you’re recording |
| Draw only what you actually see | The cardinal rule of all scientific illustration |
| Draw large — at least half the page | Detail can’t survive at postage-stamp size |
| Keep true proportions and relative position | Proportion is data |
| Ruled, non-crossing label lines | Crossed lines destroy the mapping between label and structure |
| Horizontal, printed labels in a column | Readable without rotating the page |
| Titled with specimen, view, stain, magnification | A drawing without a title is an anecdote |
One distinction worth holding onto: a label just names a structure (“cell wall”), while an annotation adds an observation (“cell wall — stains yellow-brown with iodine”). Use labels for every structure and annotations sparingly, only for what you actually noticed.
Low-Power Plan vs High-Power Detail: Two Different Drawings
A low-power plan maps tissue-level organization — the outlines of tissue blocks and their arrangement — and must contain zero individual cells. Use it for leaf structure or any specimen where the layers, not the cells, are the point. A high-power detail zooms into 4–6 representative cells at 100x–400x, drawn with full internal structure. Drawing all forty cells in the field communicates nothing that six representative ones don’t — pick one drawing type before you start Step 4, not halfway through.
Should You Draw the Circle? The Field-of-View Convention
Competitor guides either draw the field-of-view circle reflexively or ban it outright, but the real rule is conditional. Draw the circle when the distribution across the field is the information — a pond water survey where you’re recording how many organisms sit where relative to each other. Omit the circle when you’re drawing one specimen in detail, like a single paramecium. The circle then just wastes page space and implies a scale relationship you’re not actually representing.
How to Record Magnification (There Are Two Numbers)
Total microscope magnification equals eyepiece magnification times objective magnification. On a standard student scope with a 10x eyepiece, see how the four common objective lenses stack up — full breakdown in our guide to calculating total microscope magnification.
Drawing magnification is a different number entirely: drawing size divided by actual specimen size. It’s the number most exam and lab-report questions actually ask for, and most hobbyist pages conflate the two. Worked example, with units:
Eyepiece 10x × objective 40x = 400x total magnification. Your drawing of one onion cell measures 60 mm across. The real cell is 60 micrometers (µm, one thousandth of a millimeter) across. Since 60 mm = 60,000 µm, drawing magnification = 60,000 ÷ 60 = ×1,000 — even though you drew it at 400x on the scope. Title the drawing: Allium cepa epidermis, surface view, iodine stain, viewed at ×400, drawn at ×1,000.
How to Estimate the Real Size of What You Drew
You don’t need a stage micrometer to turn a sketch into a measurement. Field of view diameter equals the eyepiece field number divided by the objective magnification. Divide by the objective only, never total magnification — using total magnification is the single most common error here, and it under-estimates the field by a factor of ten. The field number is printed on the eyepiece after the slash — a “WF10X/18” eyepiece has a field number of 18.
Worked example: eyepiece reads WF10X/18, so field number = 18. Objective = 40x. Field of view = 18 ÷ 40 = 0.45 mm = 450 µm. If the cell spans about a quarter of that field, it’s roughly 450 ÷ 4 ≈ 110 µm across. AmScope’s guide to calculating field of view walks through the same math for other eyepiece and objective combinations.
6 Mistakes That Ruin a Microscope Sketch
- Drawing the textbook, not the slide. Onion epidermis has no chloroplasts, yet students draw green blobs into it because the textbook plant-cell diagram has them. Fix: before you draw any structure, ask “can I point at it in the eyepiece right now?” If not, it doesn’t go on the paper.
- Drawing too small. A postage-stamp sketch physically can’t hold the detail. Fix: frame the page lightly first and commit to filling at least half of it before the pencil touches down for real.
- Hairy, sketchy, repeated lines. Fix: one confident stroke from the elbow, not five tentative ones from the fingers.
- Shading with the side of the pencil. It smudges and carries no information. Fix: stipple instead.
- Drawing every cell in the field. Fix: 4–6 representative cells for a high-power detail; zero individual cells for a low-power plan.
- Forgetting the magnification. Without it the drawing has no scale and no scientific value. Fix: write the title before you draw, not after.
One more beginner trap worth naming: the round shape with a thick, almost-black rim and a bright empty center that drifts when you tap the slide isn’t a cell. It’s an air bubble.
What You Need (and What You Don’t)
The kit is short: a sharp HB pencil for outlines, a 2H for fine detail, a vinyl or plastic eraser, a ruler, and a sheet of plain unlined paper. Skip the pink rubber eraser — it smears graphite and tears the paper. A camera lucida or drawing tube gives tracing-level accuracy but needs bright illumination and costs more than most starter scopes. It also removes the observational benefit, since you stop looking and start tracing. A phone photo through the eyepiece makes a useful insurance reference against a slide drying out, but check proportions against the live view. It isn’t a substitute for looking, and it won’t help you learn how the parts of a compound microscope actually work together. One handling note: coverslips and broken slides have genuinely sharp edges, so always pick slides up by the edges.
Why Scientists Still Draw Instead of Photographing
Depth of field explains why a photo and a drawing aren’t interchangeable. At the 40x objective, depth of field is roughly 1 micrometer — thinner than the cell you’re looking at. You can’t see a whole cell in focus at once; you focus through it, and a single photo captures only one of those slices. A drawing is built by riding the fine focus and integrating what you saw across the whole focus range. That makes it the only output format that records the complete structure in one image.
This isn’t a new problem solved by better cameras. Robert Hooke’s hand-drawn engravings in Micrographia (1665) — including his drawing of cork — are where the word “cell” comes from; see our full cork cells under the microscope guide. William Hyde Wollaston patented the camera lucida in 1806, a prism that superimposes your paper onto the specimen so you can trace it. Santiago Ramón y Cajal, who shared the 1906 Nobel Prize in Physiology or Medicine with Camillo Golgi, produced roughly 2,900 drawings of neural tissue still reproduced in modern neuroscience textbooks. They show integrated structure that no single micrograph of the era, or since, has captured in one frame. For the fuller story, see our history of the microscope. A light microscope resolves down to about 200 nanometers, covered in our guide to microscope resolution. Anything smaller can’t be drawn because it can’t be seen — which is exactly why “draw only what you see” is the rule, not just good advice.
Frequently Asked Questions
Do you shade a biological drawing?
No. Shading with the side of a pencil smudges the graphite and hides the edges you’re trying to record. Use stippling — dots, denser where the structure is darker — instead.
What pencil should you use for biological drawings?
A sharp HB for outlines and a 2H for fine detail, on plain unlined paper. Sharpen more often than feels reasonable — a dulled HB is where clean lines die.
How big should a microscope drawing be?
At least half the page, ideally one drawing per page. Detail can’t survive at postage-stamp size, and there’s no room left for label lines once you’re crowded in a corner.
Can you use colored pencils for microscope drawings?
No — biological drawings stay in pencil. If a stain gave the specimen color, note the stain by name in the title instead of trying to color-match it.
What is a camera lucida?
A camera lucida is an optical device patented by William Hyde Wollaston in 1806. It superimposes the image of your paper onto your view of the specimen through the eyepiece, so you can trace it directly. The microscope version, still fitted to some research scopes, is called a drawing tube.
Conclusion
A biological drawing earns its place next to a lab report precisely because it’s constrained: pencil only, single lines, no shading, ruled labels, and a title that carries the magnification. Follow the eight steps in order, pick a low-power plan or a high-power detail before you start, and record both magnification numbers. Do that, and the drawing stops being a picture and starts being usable scientific data.
Have you tried sketching a slide instead of photographing it? Tell us what surprised you about the process — or which structure gave you the most trouble — in the comments below.